How To Install New Replacement Slings on A Patio Sling Chair
These instructructions offer a general guideline for sling installation. Your chair may differ from the one depicted here but the general concept remains. Feel free to contact us with installation questions.
Note: Take careful note of how your chair comes apart. If you own a digital camera it would be beneficial to take photos of your chair before disassembling.
Sling Chair Install Process
Tools you need:
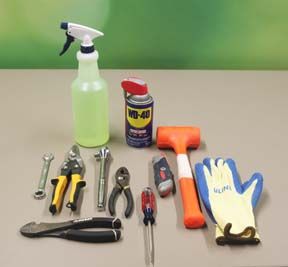
-hammer
-pliers
-wire cutters or scissors
-ratchet and socket or Allen wrench
-utility knife
-flat head screw driver
-watered down dish soap
-penetrating oil
Step 1 – Remove the End Caps
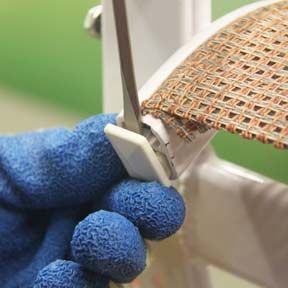
Using a flat head screwdriver or pliers, gently remove the plastic end caps from both ends of the sling rails. Be careful when removing your old end caps, they are often dry, brittle and break easily. Be sure to save these for reinstallation.
Step 2 – Remove the Old Sling Material
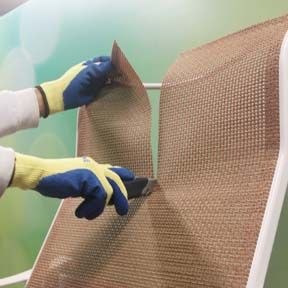
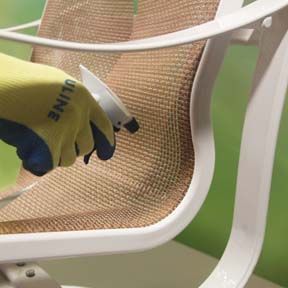
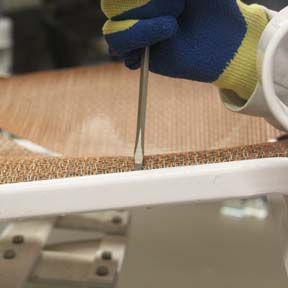
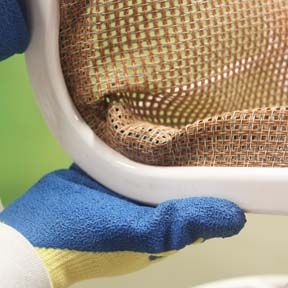
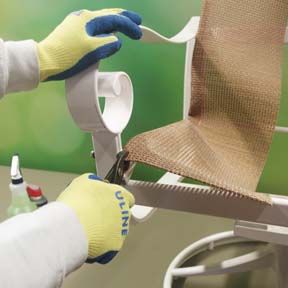
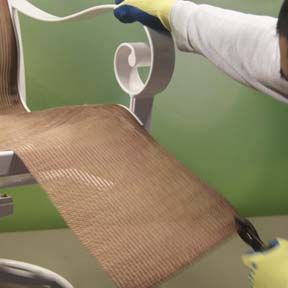
The easiest way to remove the old sling is to slice it down the middle using a utility knife or heavy duty scissors. If you choose not to destroy your old slings by cutting them in half, unbolt both sling rails before proceeding. It is not uncommon for the sling to be stuck inside the sling rail. Using both hands, break the sling free by pushing it back inside the sling rail. Spray the edge of the sling rail with watered down dish soap. The soap helps to loosen the old material from the sling rail, making it easier to remove. Give the soap a minute or two to absorb before proceeding. Grasp the sling by hand or using a pair of pliers and strip it from the sling rail. If the sling does not detach, break the fabric loose with a flat head screw driver.
Step 3 – Remove Hardware
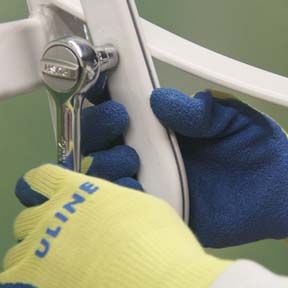
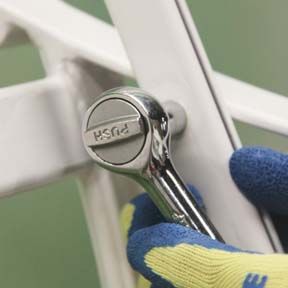
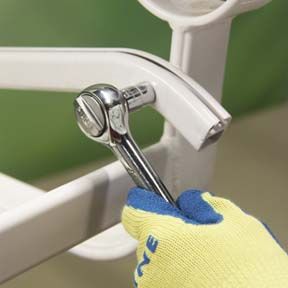
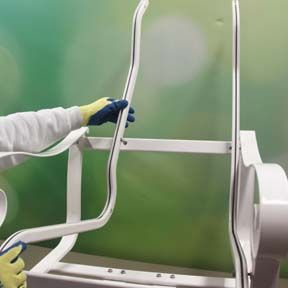
One or both of the sling rails will be attached to chair frame with bolts. Using the appropriate tool, remove all bolts (typically 4-6). If your bolts prove difficult to remove, spray them with a penetrating oil (Liquid Wrench, NAPA 6300). The oil will help to loosen any rust or corrosion on the bolt. Let the oil soak for at least an hour before proceeding. Save bolts and any other hardware for reinstallation. If your bolts are bent or rusty it is a good idea to replace them.
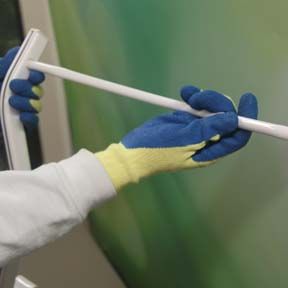
Step 4 – Insert Sling Spline
The slings will be shipped without the plastic sling spline installed. Insert the sling spline in to each side of the sling. The spline will be longer than necessary; do not trim away the excess until later in the installation process. If you are having trouble inserting the sling spline, try sharpening the end in a pencil sharpener. A pointed end tends to slide easier. You can also use a pencil to widen the entry point of the sling hem.
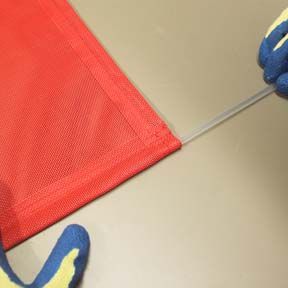
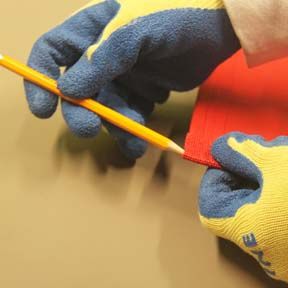
Step 5 – Insert Material Into the Sling Rails
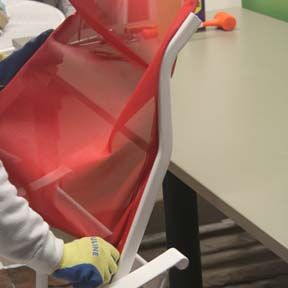
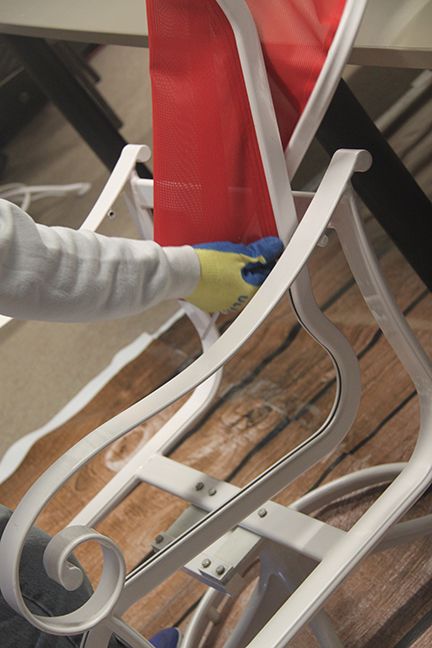
Before sliding the sling into the rail, make sure the rails are in the same position as they were before they were removed. Slide the fabric through the sling rails Slide the fabric into the loose slide rail first. Slide the fabric into the mounted rail starting from the top down
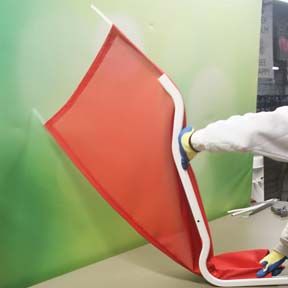
Step 6 – Start All Bolts
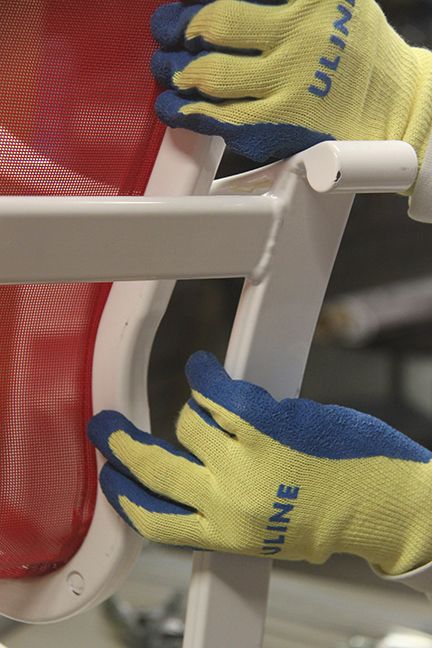
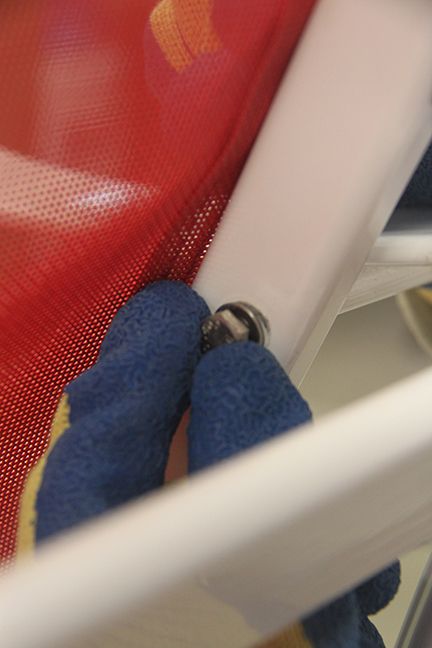
Line up the holes in the sling rails with the chair frame. Loosely secure the bolts but do not tighten the bolts just yet.
Step 7 – Tighten Bottom Bolts
Starting with the bottom of the chair, pull the sling downwar until it is even with both sling rails. Once the sling is flush with BOTH sling rails, tighten only the two bottom bolts at the front of the chair. This will keep the bottom of the sling tight and in place.
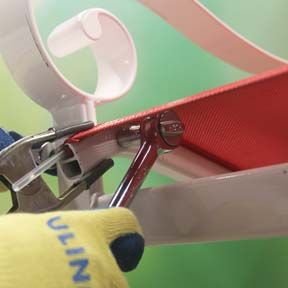
Step 8 – Stretch the Sling Material and Tighten
Eliminate any wrinkles left in the bend of the seat by stretching the fabric upward.
Note: It may be helpful to use a pair of clamps to hold the fabric as it tends to slip back down the sling rail. If you do not have clamps available, having someone to help with this step may prove useful.
Position yourself behind the chair. Using pliers, stretch the sling upward to the edge of the sling rail so that both fabric and sling rail are even. At this point, use clamps or have someone hold the sling in place while you tighten the remaining bolts. The sling should now be tight and free of wrinkles. Repeat tihs step on the other sling rail.
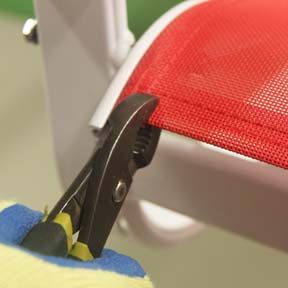
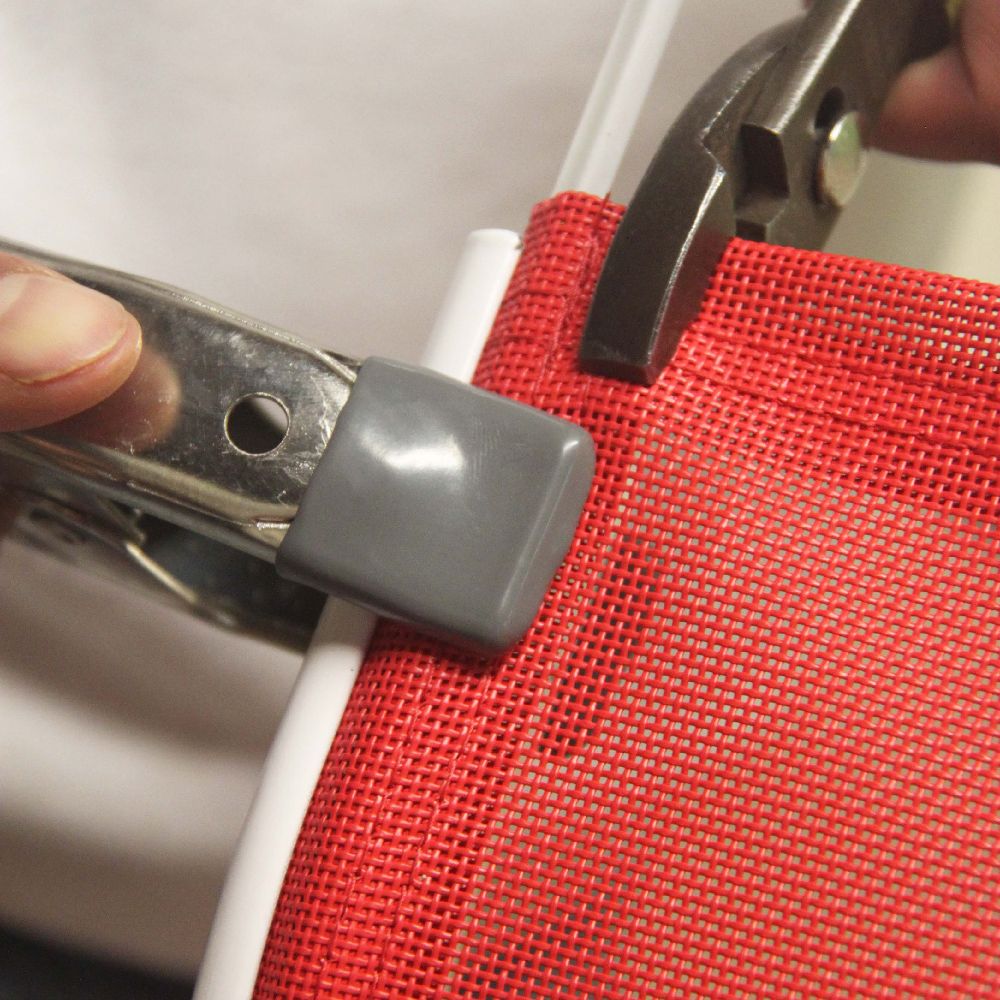
Step 9 – Tighten the bolts.
With the fabric in place, tighten down the remaining bolts on the chair frame. It may help to alternate bolts to alleviate stress on the threads. It may be easier to lay your chair on its side during this step.
Step 10 – Reinstalling Spreader Bars
If your chair was equipped with spreader or tension bars, they must be reinserted. Fli your chair upside down being careful not to scratch the arms. Try bending the spreader bar over you knee. Some curved bars can be bent over a knee or by using a mounted wor bench vise for leverage. If possible, bent the bars just enough to fit within the sling rails. You won’t be able to pry the bar ito place. Using a rubber mallet, tap the bar in the center to add tension to the rails. Repeat this step on the remailing tension rods.
If your spread/tension rod is straight, or too thick to bend, the menthods in step 10 will not work.
Step 11 – Cut Excess Epline and Reinstall End Caps
Cut the excess spline with scissors or pliers and reinstall end caps into sling rails by carefully tapping them in with a rubber mallet.

